This post contains affiliate links. We may earn a commission if you click on them and make a purchase. It’s at no extra cost to you and helps us run this site. Thanks for your support!
Midjourney is an AI image generator that can conjure impressive logos, artwork, and other graphics based on your imaginative descriptions. It’s now much easier to use – here’s how.
Are you looking for a logo for your business, artwork for a project, or an image for a report? You can create your image from various generative AI apps and sites. However, one service that offers awe-inspiring results is Midjourney.
With this tool, you can describe the type of image you want by entering a text prompt. In return, the site delivers four high-quality renderings.
How to use: Crayon AI | Bing Image Creator | DALL-E 3 | Stable Diffusion
How Midjourney works
Initially, Midjourney required you to use Discord to create and fine-tune your AI-based images. That process required a fair amount of fiddling with text-based prompts, which was a clumsy and sometimes frustrating experience. To appeal to those who didn’t like the Discord method, Midjourney kicked off a dedicated website late last year.
At first, the website was limited to people who had generated at least 10,000 images via Discord, excluding a lot of folks. Now that the site is accessible to anyone, all Midjourney users can use it to generate images. One of the perks of the website, at least for now, is that your first 25 AI-generated images are free. After that, you’ll have to pay for a paid subscription.
A Basic Plan will run you $10 a month or $96 a year, a Standard Plan $30 a month or $288 a year, a Pro Plan $60 a month or $576 a year, and a Mega Plan $120 a month or $1,152 a year. Each tier gives you increasingly faster results, among other benefits. To get a taste of Midjourney, you may want to start with the Basic Plan to see how well it works for you.
How to get started using Midjourney
1. Sign up
Signing up for the website requires a Google or Discord account. If you’ve already created images via Discord, you can use that account to retrieve a history of the images you generated in the past. You can then merge your Discord and Google accounts to be able to sign in with either one. Otherwise, signing in with a Google account is easier.
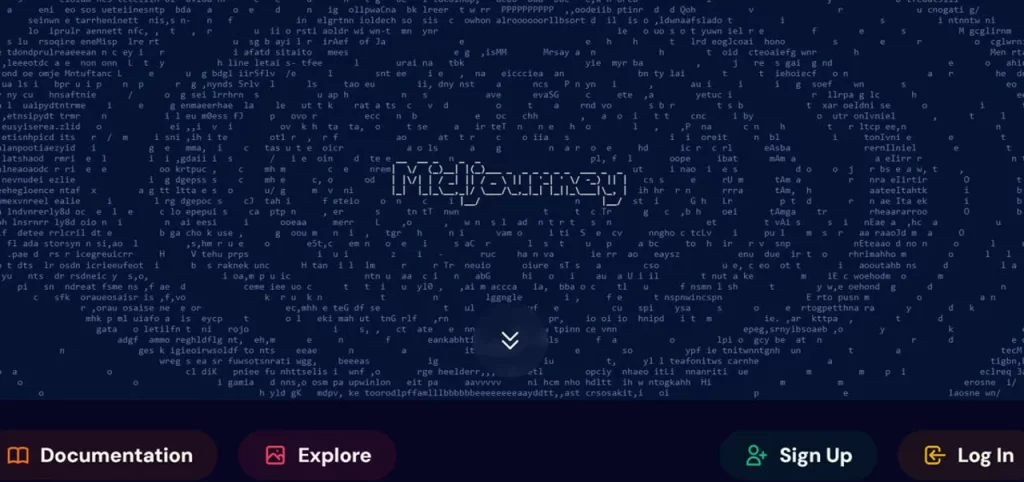
To get started, browse the Midjourney website and click the Sign Up link in the lower right. At the next screen, choose Discord or Google. You’ll then be sent to the site.
2. Explore the image library
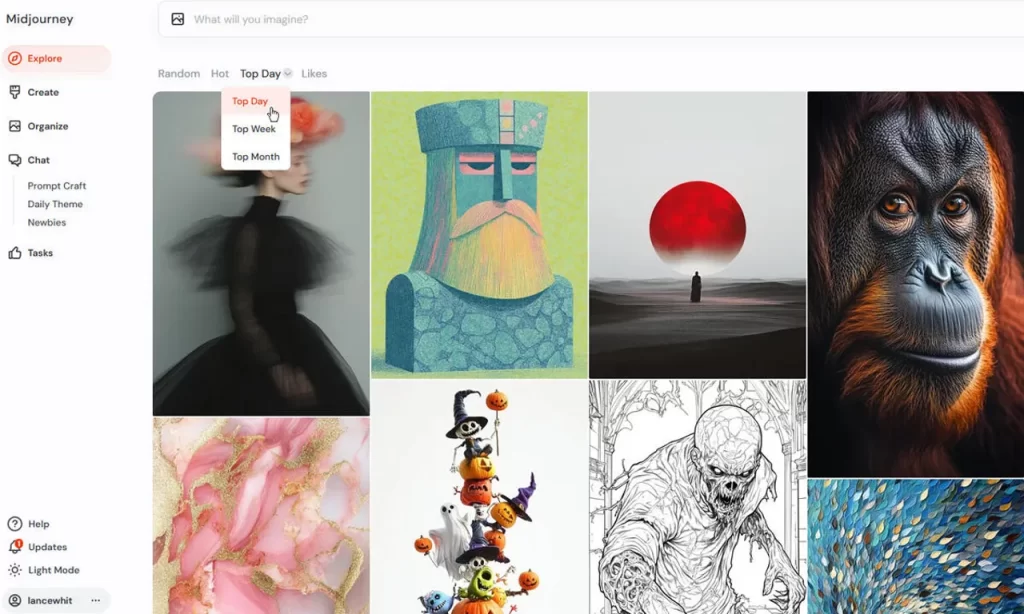
After you sign in, a sidebar on the left displays tabs for different sections and tasks. Go to the “Explore” section to check out images that other people have created.
You can view images by selecting different categories at the top, such as “Random,” “Hot,” “Top Day” (as well as Top Week or Top Month), and “Likes.”
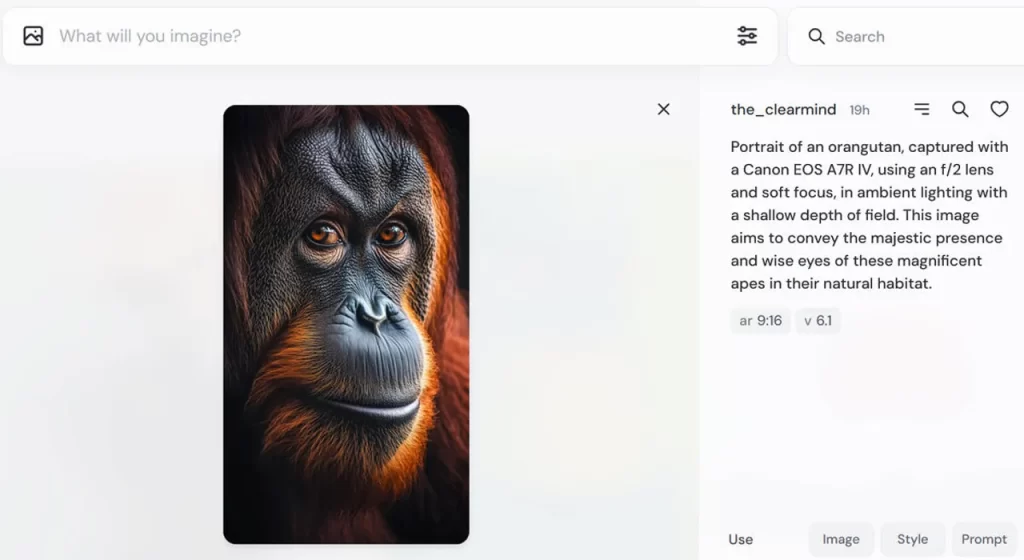
3. View an image
You can click on an image you like to view it closer. You’ll also see the prompt that was used to generate the image. Click the X to return to the image gallery.
4. Watch the welcome video
Click the Create tab on the right to view a welcome video briefly explaining how to use Midjourney. You may also be prompted to join the platform with one of the paid subscriptions.
5. Create your first image
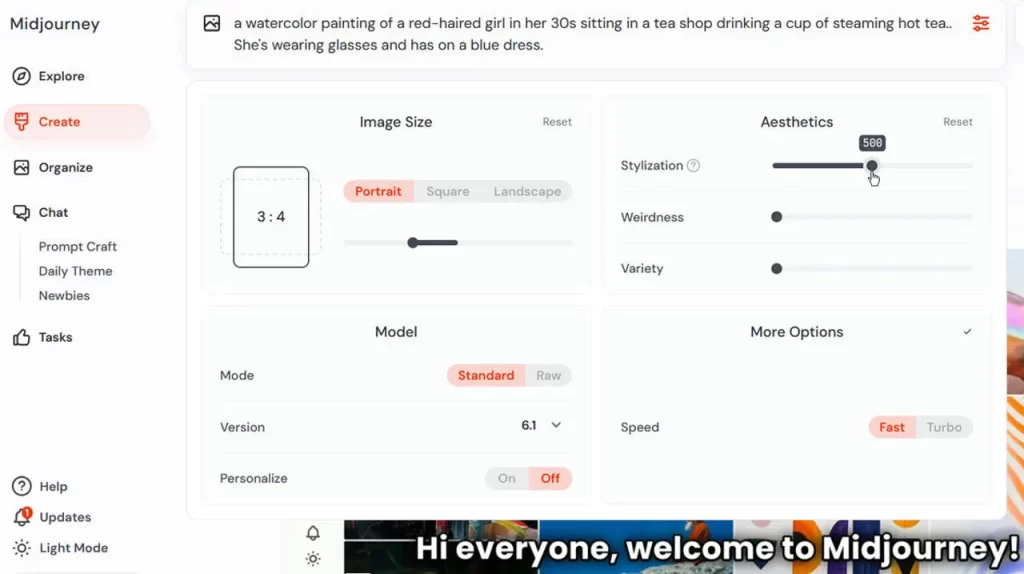
At the “Create” screen, request an image by typing your prompt in the “What will you imagine” field at the top of the page. Include the right details to specify the description and style for the image you want.
Using the three-lined settings icon to the right of the prompt, you can change the size, model, aesthetics, and other options for the image. Play around with the various settings to see how they affect your image. When ready, place your cursor in the prompt field and press “Enter.”
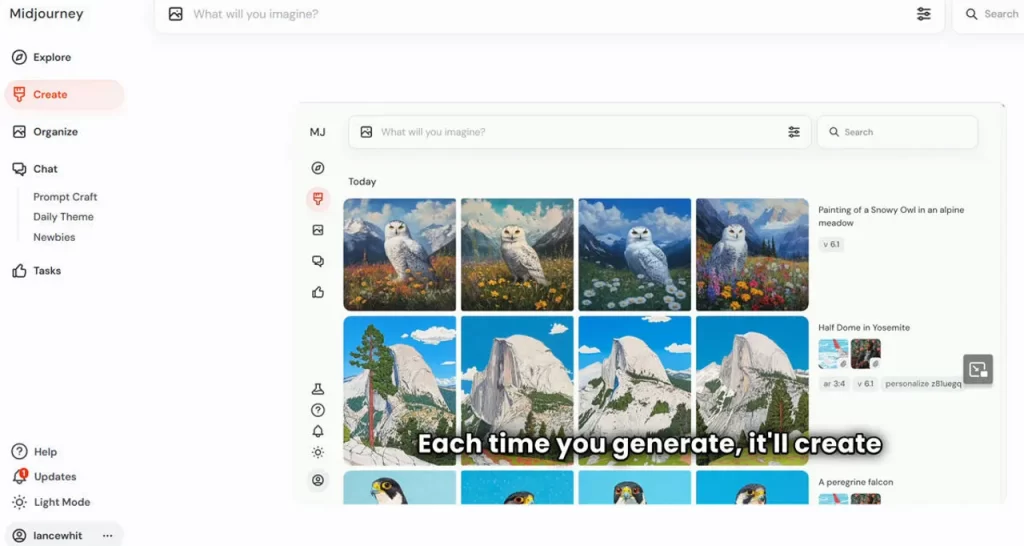
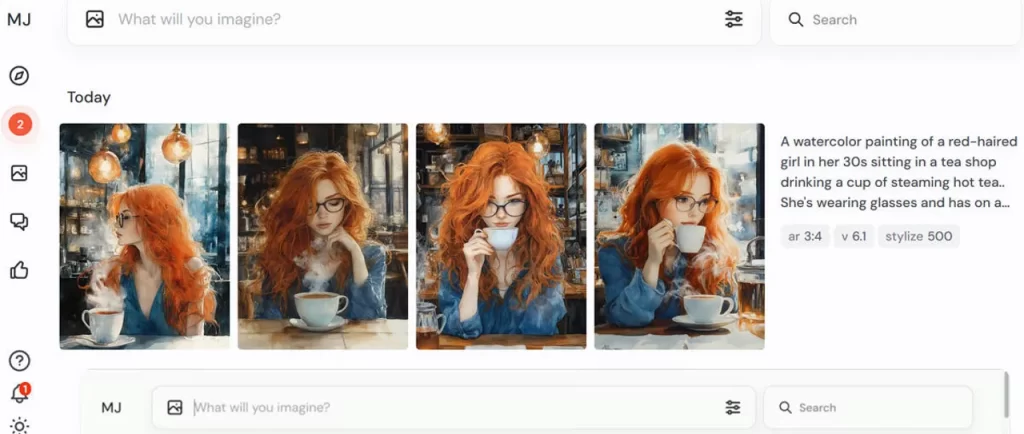
6. View the results
In response, Midjourney creates four different images based on your prompt. Look at each image to see how Midjourney interpreted your description.
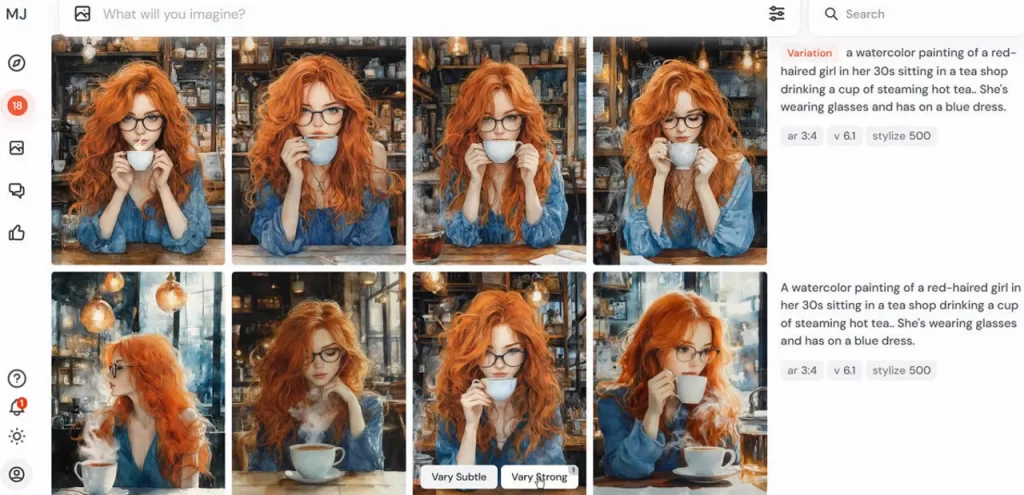
7. Create variations
Hover over an image, and you’ll see options for “Vary Subtle” and “Vary Strong.” Click on either. Midjourney will then create a new batch of similar images with subtle or strong variations based on which image you selected and which option you chose.
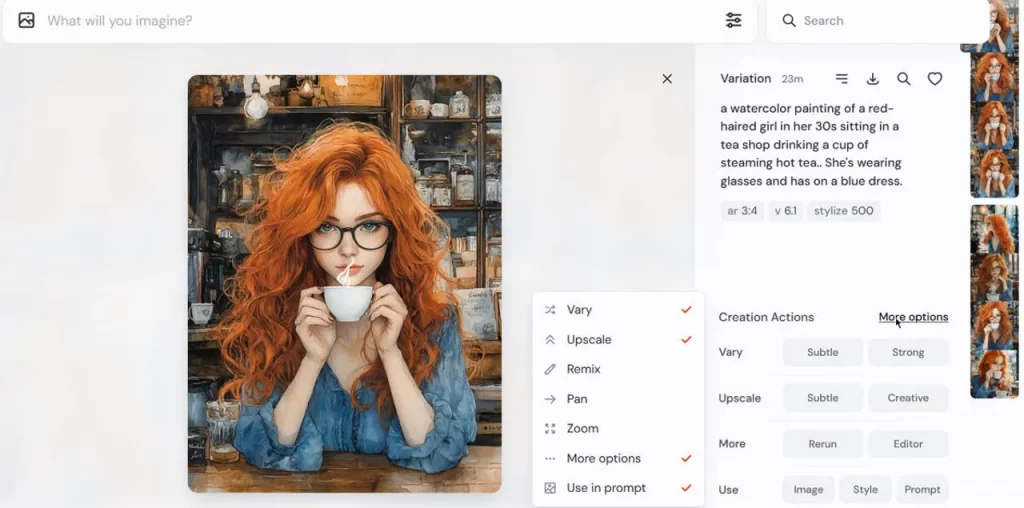
8. Modify your image with different actions
Your image then opens in a larger view. On the right side of the screen, you’ll see different categories for “Creation Actions.”
With the “Vary” category, you can again vary the image subtly or strongly. In response, Midourney will create a new image with subtle or dramatic changes. With the “Upscale” category, you can upscale the image a little or a lot. Upscaling generates a larger image that is suited for saving or printing.
With the “More” category, you can run the same prompt again or head directly to the editor. You can also use the image, a style, or a prompt to revise it. With the “Use” category, you can use the image, style, or original prompt to generate a new image.
Click the “More options” link for additional commands, like “Remix,” “Pan,” and “Zoom.”
Play with the different categories and actions. Each time you select an action, a new series of images will be generated. But don’t overdo it, or you’ll end up with too many images.
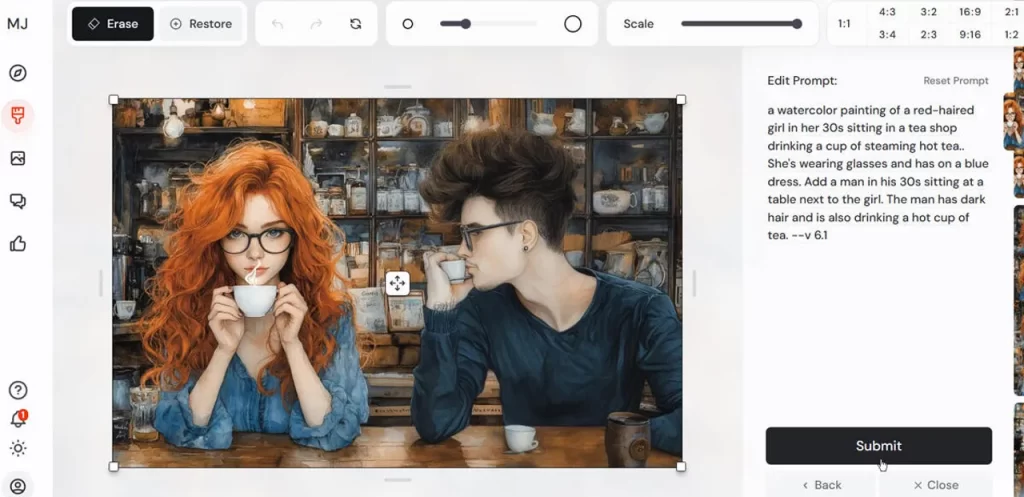
9. Edit your image
Midjourney has a built-in editor through which you can make even more changes to an image. Click the “Editor” button on the right. In the editing screen, you can zoom in or out on the image by moving the slider at the top. You can then move the image around the canvas by dragging the four-arrow icon in the middle.
Next, you can change the aspect ratio based on how you want the image to appear. For example, you can shrink the image to add more content to the left, right, top, or bottom.
Coolest of all, however, is the ability to change parts of the image based on revisions to your prompt. For instance, you could add a new element to your image by tweaking the prompt, erasing the part of the image that you want to change, and then submitting your new prompt.
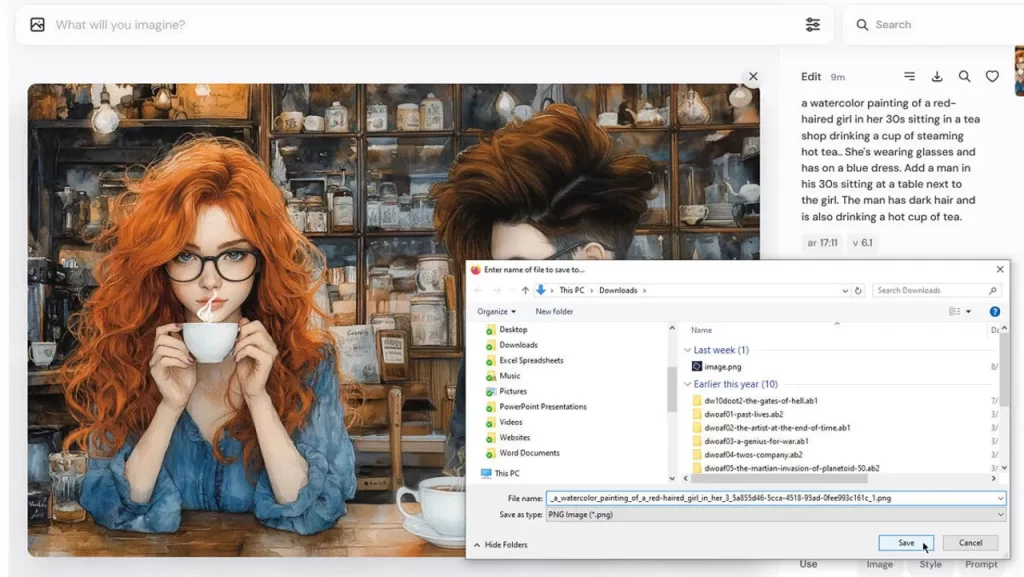
10. Download the image
Once you’re satisfied with your creation, open the image in its window. Click the “Download Image” button on the right and select the folder to save the file. Your image will download as a PNG file.
11. Organize your images
Finally, you can view and organize all the images you’ve generated by clicking the “Organize” category on the left. By default, you’ll see all the images you’ve created. Right-click on a specific image to access a menu where you can like, hide, modify, copy, or save the image.
Click the “Organize” button on the right to display a sidebar. Here, you can create folders to save your images, filter the list of images by different criteria, and play with the layout and image size.