This post contains affiliate links. We may earn a commission if you click on them and make a purchase. It’s at no extra cost to you and helps us run this site. Thanks for your support!
Quick Exercises to Learn How to Create Better Characters.
Sometimes when designing a character, it’s easy to get lost in making a complex design that looks and feels interesting. As a character designer who has been developing for the past seven years, I’ve learned the importance of shape language and having fun exploring a variety of designs by using nothing more than simple shapes.
Boiling down what complex versus simple is can be quite challenging – wrestling with less versus more and clean silhouettes while trying to keep your character design fresh, pushed, and stylized can be overwhelming. When I got overwhelmed and stuck looking at a blank canvas, I wanted to find something to help me warm up, an exercise pushing shapes and designs in a fun way. What may initially look like random pushed and pulled blobs are shapes that can make almost any design you can think of with enough practice, repetition, and imagination.
This shape warm-up exercise has helped me get out of my head and stay loose because the scariest part is getting started. Here, I’ll be showing you how to use this shape exercise to help loosen up and practice using shapes in your designs too! It doesn’t have to be scary, so grab your favorite digital art software or sketchpad and best pencils, and let’s get started.
01. Choose your theme
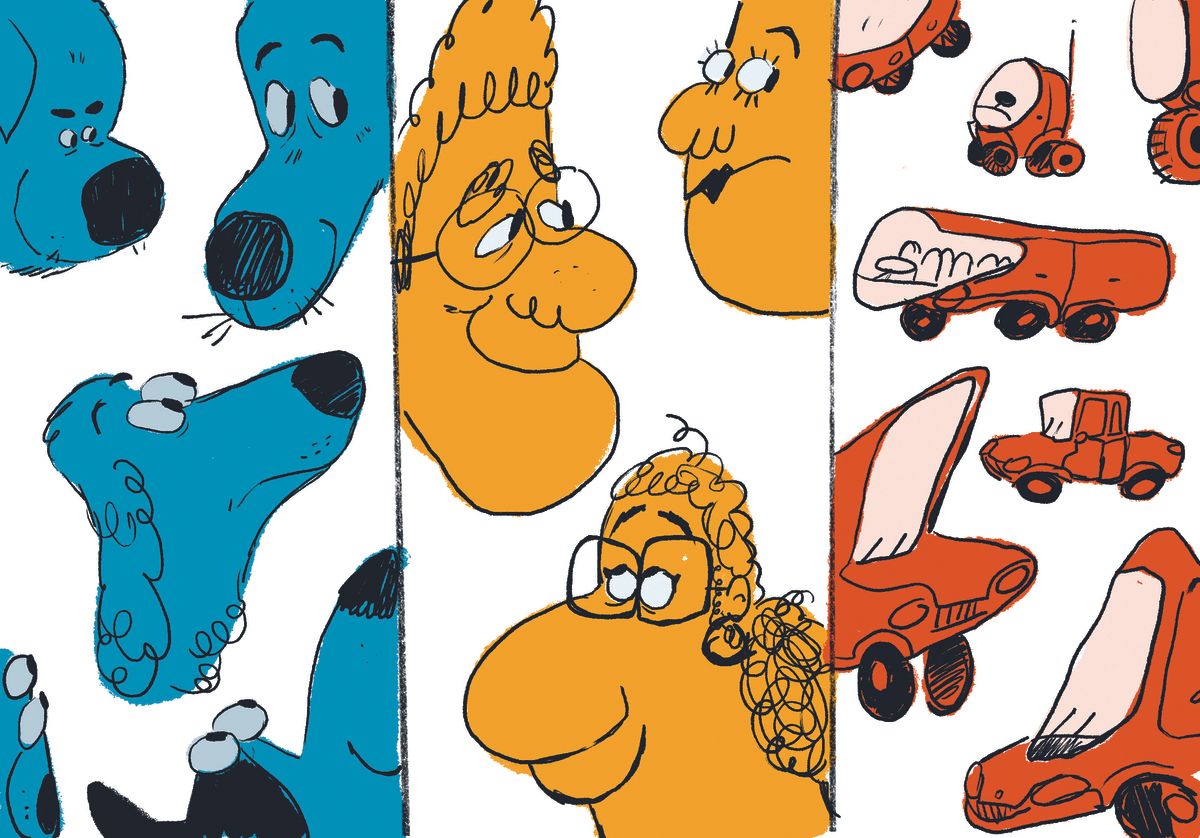
When I start this exercise, I like to think about what I’m going to draw in the shapes. You can pick animals, people, cars, or anything you like! It’s great to challenge yourself with these themes and make them as specific as possible, but it’s also good to be simple too. Sometimes I can pick something as simple as one animal and challenge myself by drawing them differently in every shape. Either way, sticking to a theme is important to push yourself; try not to change it before you start or else it may become too easy.
02. Experiment with materials
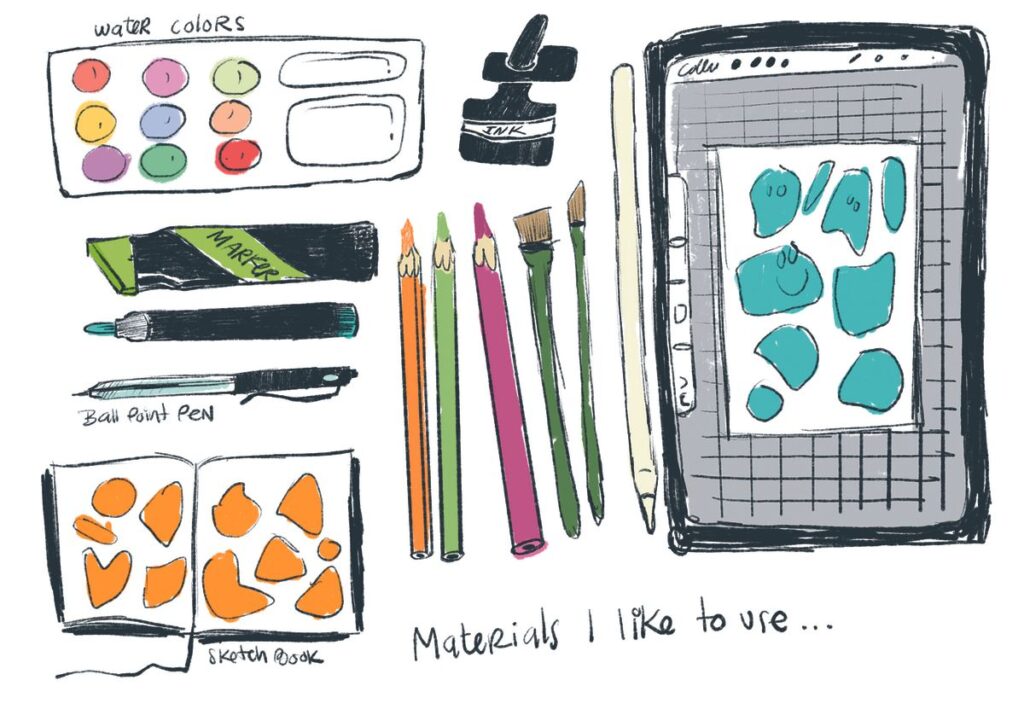
You need to know what you’re going to use to make your shapes and draw in them. You can use any physical media such as paint, crayons, ink, or even digital tools like Procreate. You just need to create larger shapes with a bigger material and then carve into them with a smaller one, like pens, pencils, or anything that can let you contrast your line work from the shape itself. Don’t feel limited, you can create any amount of shapes with any material and can even play around with switching materials up for every exercise you do.
03. Understand how to use different shapes
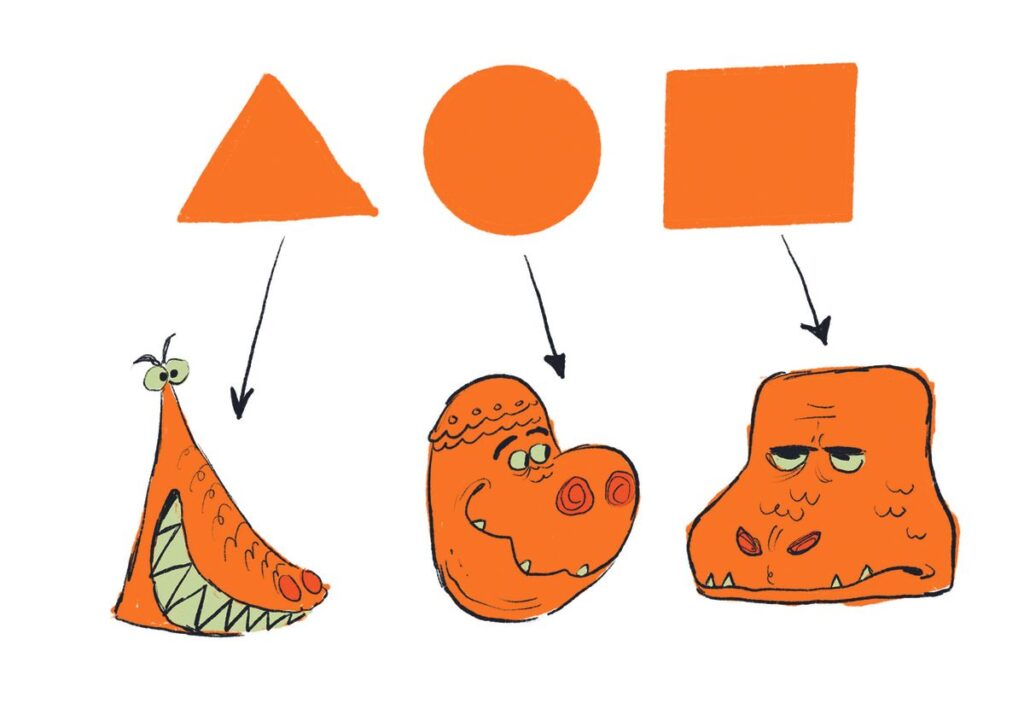
Learning basic shapes such as triangles, circles, and squares is important when it comes to designing a character. Each shape can convey an emotion or personality, so in this shape warm-up, you can use, or even combine, a lot of shapes to create an interesting design. Triangles are both exciting and scary, circles are round and soft, and squares are grumpy and grounded. When I’m laying out all my shapes to draw in, I try to have a variety of them so that I’m forced to draw my theme into them to convey different personalities for characters.
04. Learn how to combine shapes
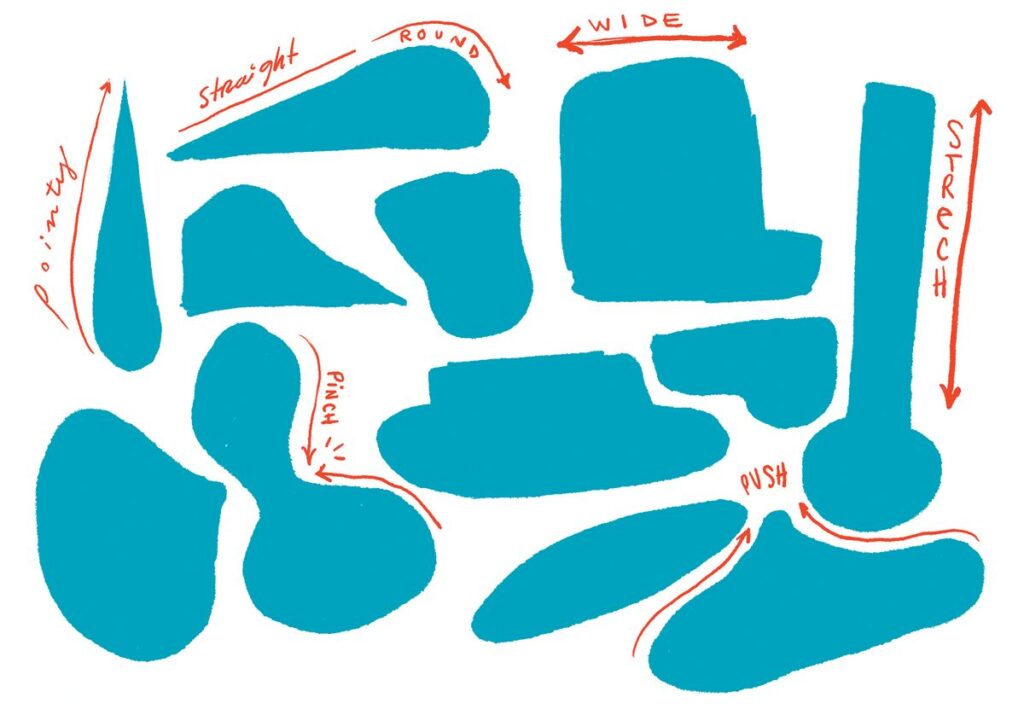
A. Basic shapes: Circles, triangles, and squares are your starting points to create a variety of fun shapes and combinations. Most other shapes are already a combo of these three, so try not to use anything too complex like stars or crescents.
B. Putting them together: Being able to combine these shapes to make organic silhouettes can allow you to have fun designs for faces and poses. Be sure to combine them in a way that doesn’t make them look too busy.
C. Push and pull: Don’t just use the same sizes of each shape. Feel free to make your triangles longer or shorter, your squares taller and flatter, and your circles bigger, smaller, or even ovals! This will challenge you to create complex shapes most simply and allows you to use more than one shape language to make characters even more unique.
05. Make clean sihouettes
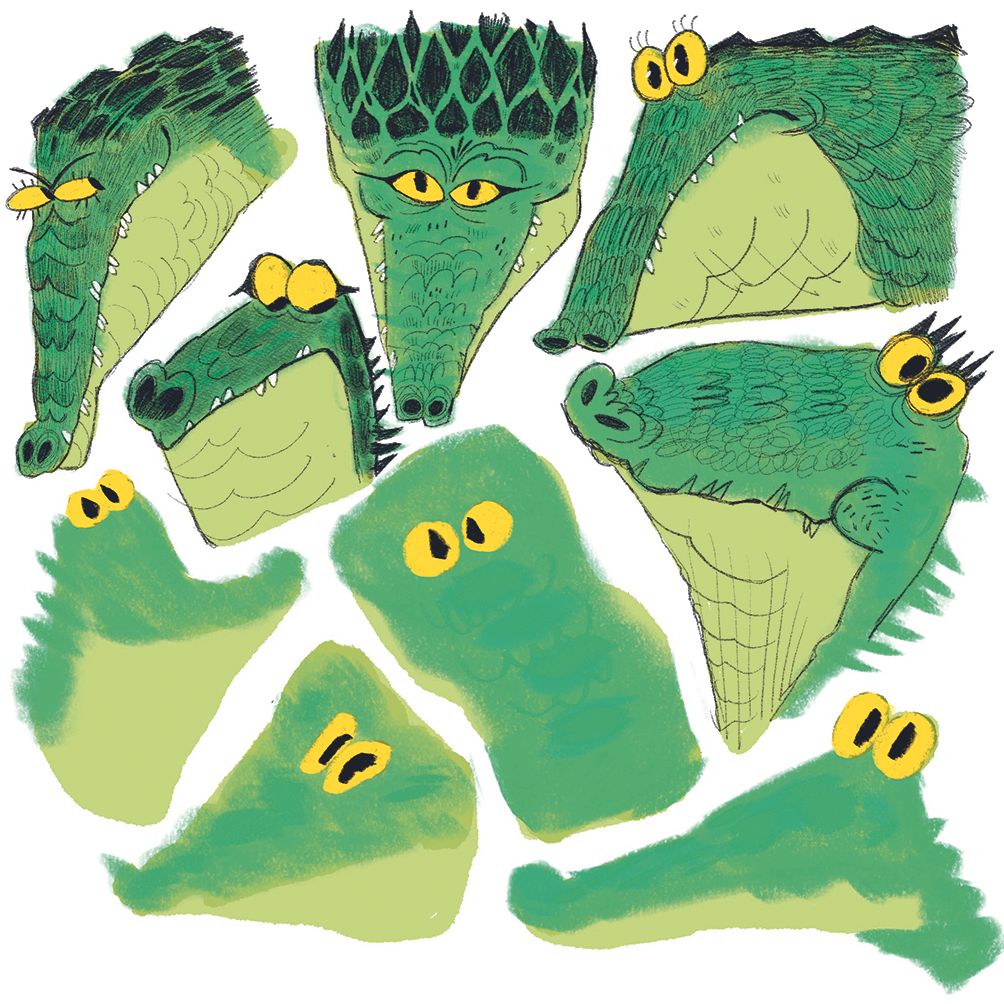
When making your shapes, try to create them with a clear silhouette. Don’t make them too complex or busy, even if you’re combining more than one shape to create a new one. Although they may just look like blobs, in their simplicity they also have a clear gesture. The busier you make the shape, the harder you make it to decide elements of the design. Being simple and having a clean silhouette helps you challenge yourself to sell your theme in the movement of the shape, and forces you to think simpler. Try to make anywhere between four and ten shapes to begin with.
06. Try using different colors
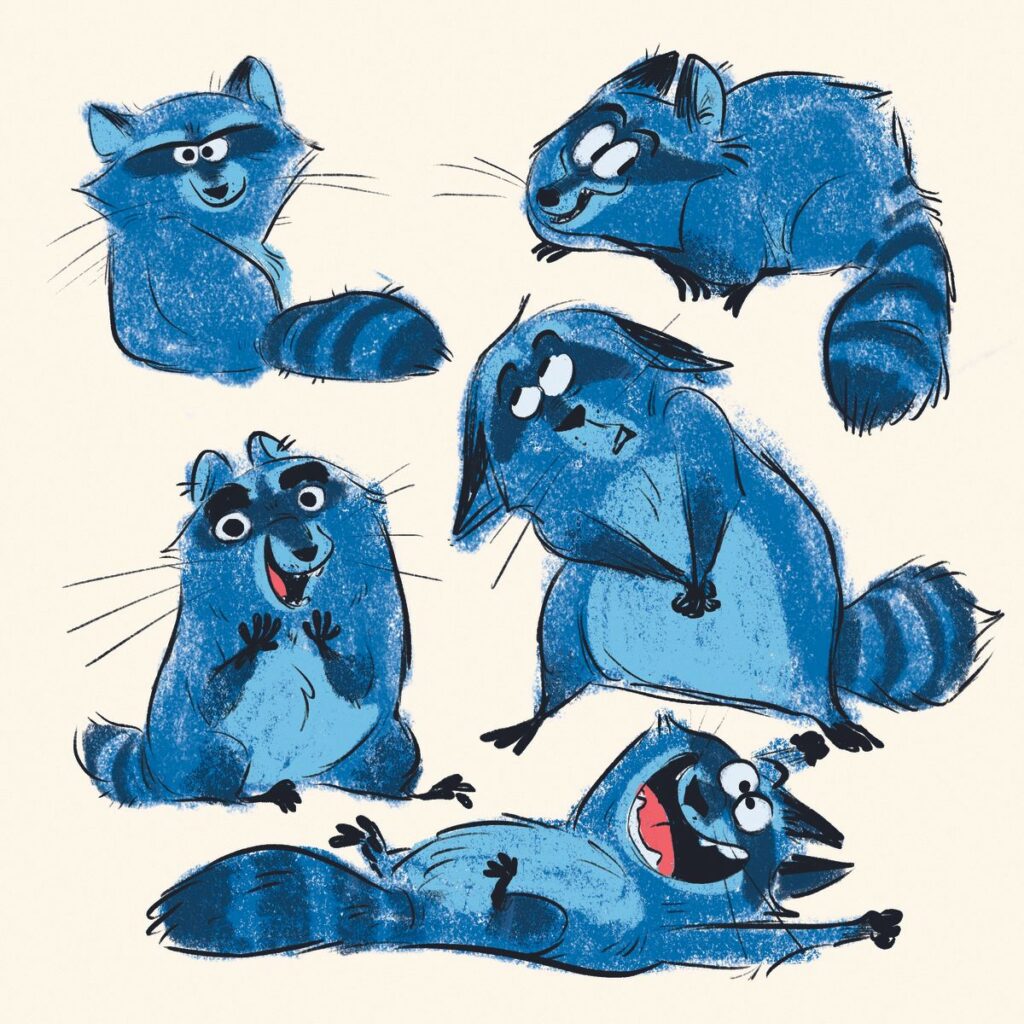
Sometimes I like to add colors to create mood or contrast in each shape. This is an added challenge because color can sometimes add more to what each character is feeling or what their personalities are like. If the color is too complex, feel free to just use basic colors or greyscale for your shapes. For example, sometimes it’s as simple as me just wanting to use the color blue to challenge me with what a blue raccoon could look like if that was my theme. Explore complementary colors, or just have fun with a color you want to use that day.
07. Find references
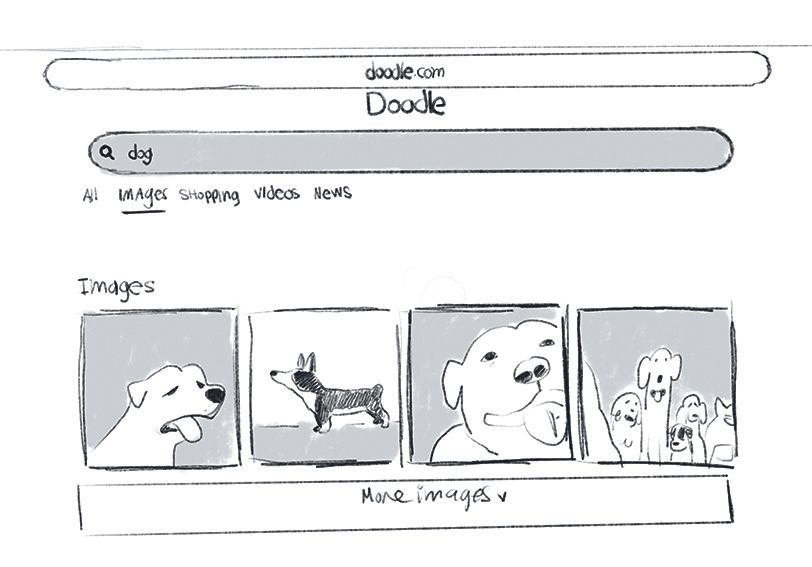
Now you have your theme and shapes, it’s always great to have a reference for what you’re drawing. For example, if you picked an animal, you may have an idea of what that looks like in your head, but a reference keeps you accountable and helps you discover something new as you explore your shapes with different styles and textures. Reference is super important in everything that you do, so implementing it in this exercise is a good habit to get into. Try to grab as many references as you’d like to fully understand all the angles of your theme.
08. Keep it loose
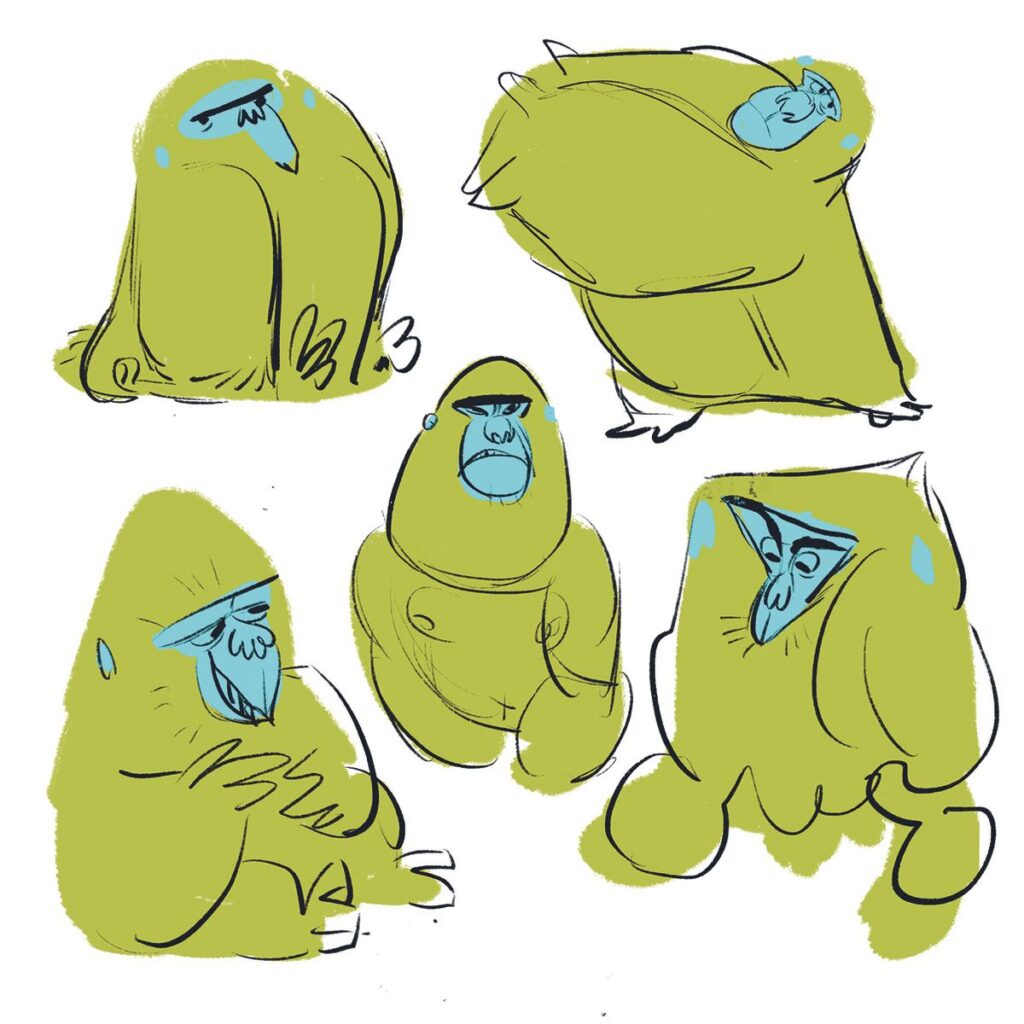
As you finally start drawing in and around your shapes, remember to stay loose and have fun! Draw without stress and try not to think too hard. Try to make it fun and keep in mind that this is just an exercise to get better. Test many lines or even as few as possible. The goal is to ensure there’s clarity of your theme in the shapes while trying new things to get different designs of the same subject. It can be hard at first, so stay loose and stick at it.
09. Develop expressions
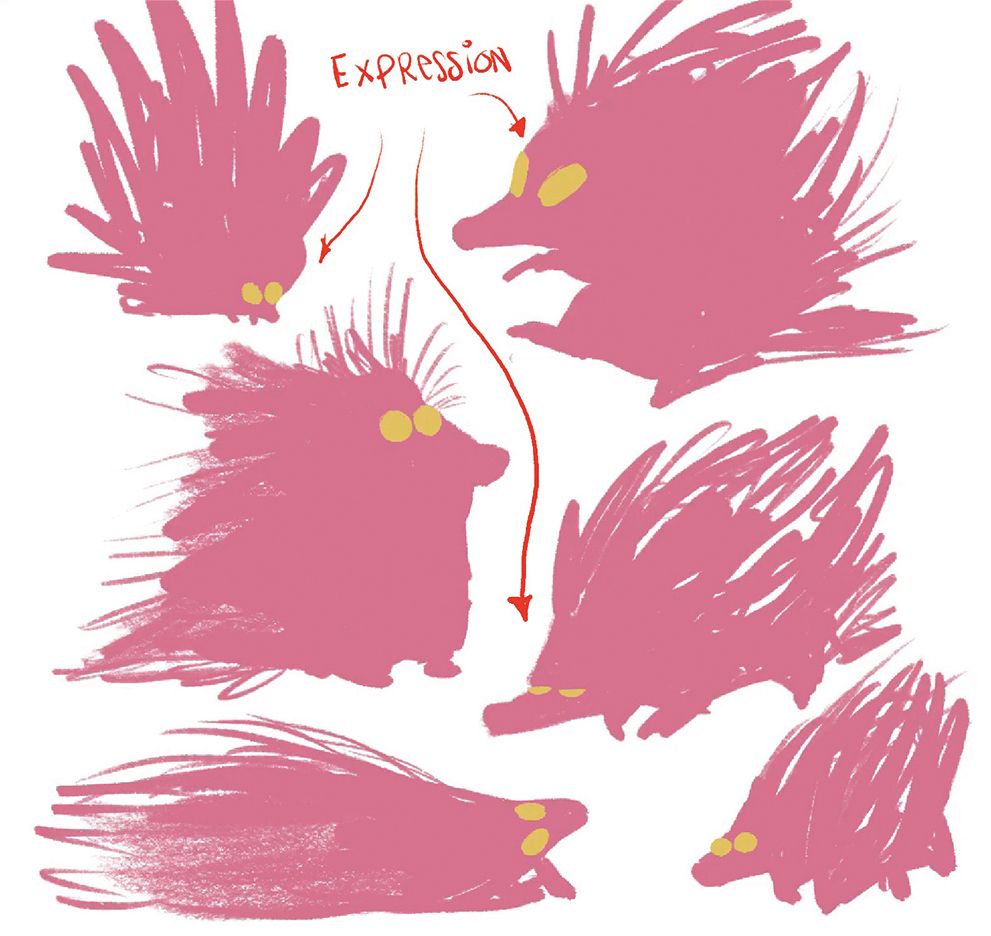
When I’m drawing, I’m thinking about each character’s mood and expression for each shape. For me, it’s helpful to start with the eyes because they hold so much story in them, and a lot of the time, the rest of the face and expression can follow. I try to make sure that each expression gives the characters life while working on this exercise so I can implement them better in my designs outside of it. Try to figure out what the shape and silhouette are conveying and use it to create fun expressions to guide and build the rest of your design.
10. Repeat, repeat, repeat
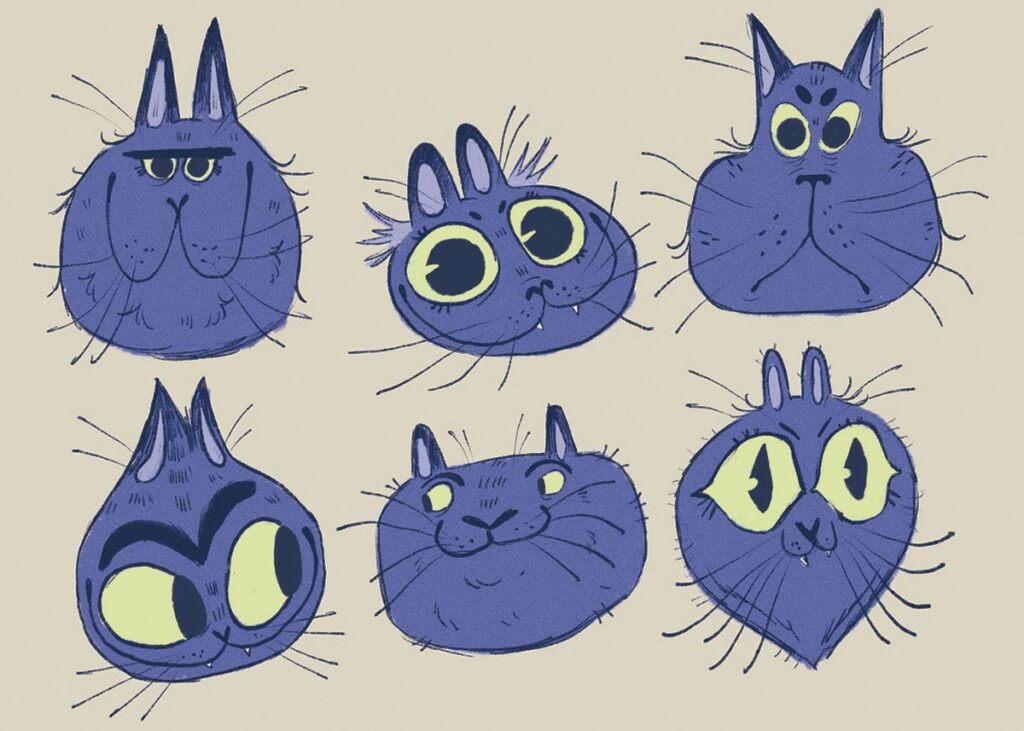
Do this again and again! If you’re struggling to find your art style, technique, or material when doing this exercise, it’s okay. Finding a style isn’t trying to reinvent the wheel, but instead taking from art and things that inspire you, and shaping them as your own. It’s important when exploring this to listen to your gut and the things that get youexcitede, and translate that into your art. It’s like creating a palette but with your creative sensibilities; it takes that, patience and repetition for your style to grow and transform.

